AUTOCAD – CREATING & INSERTING A BLOCK
Setting up an AutoCAD block with attributes and fields: File —» Open —» select any generic drawing (template.dwt) —» switch to ModelSpace —» select the Title Block —» RMC —» select Block Editor —» Properties —» Annotative select Yes (automatically adjust when scale) —»
Adding an attributes to the drawing template: Attribute Definition —» check Preset + Lock position + Specify on-screen —» Tag field type CUSTOMER OR CLIENT —» Prompt field type Customer or Client —» Justification select Center and uncheck Annotate —» Text height = .15 (D size drawing) —» OK to place —» Close to Save.
Adding a field to the drawing template: Attribute Definition —» check Preset + Lock position + Specify on-screen —» Tag field type DATE —» Prompt field type Date —» Default click Insert Field (do not sheetSet in AutoCAD Electrical) —» Field category select Date and Time —» Field names select CreatedDate —» select Date format —» Justification select Center and unchecked Annotate —» Text height = .08 (D size drawing) —» OK —» OK to place —» Close to Save.
Mapping attributes to AutoCAD Electrical project &drawing information: Developing subject .....
Mulitple Drawing sheet size Title Blocks within a Project: Developing subject .....
Using a Project Specific Title Block while maintaining a Global Title Block for other projects: Developing subject .....
Title Block Update and Update/Retag: Developing subject .....
CREATING AND INSERTING BLOCK IN AUTOCAD
A Block is a group of objects that have been converted into one object. A symbol, such as a transistor, capacitor, transistor, fan, solenoid, screw, bathroom fixture, window, door, is a typical application for the block command.  First a Block is created, then it can be inserted into the drawing. An inserted Block uses less file space than a set of copied objects. To create a Block —»
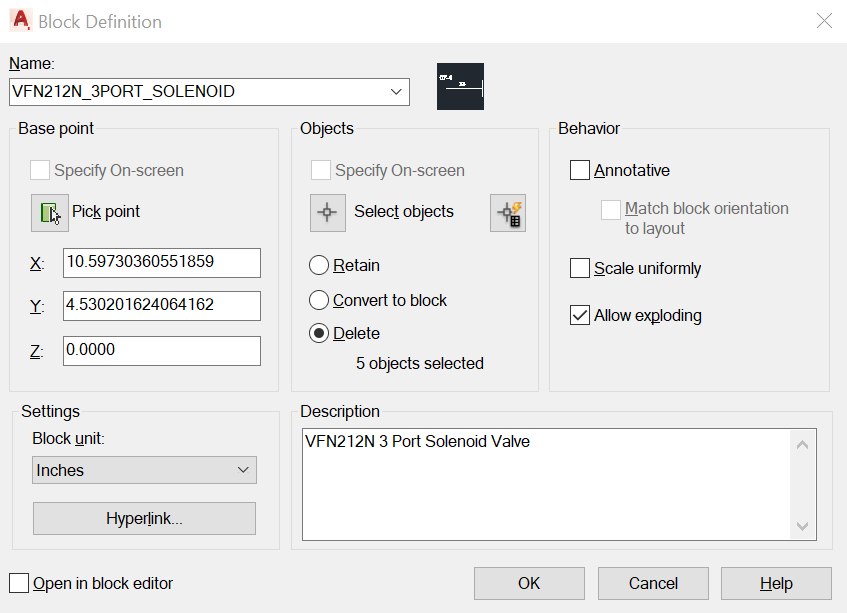
Creating A Block: In AutoCAD, create an object —» LA to select a LAyer —» set current —» draw an object that will be converted into a Block —» type B to create Block —» Enter —» Name (enter the New Block name) —» select the Pick Point —» select the location (insertion point for the block) —» select on of the option Retain/Convert to block/Delete —» select Select objects button —» select the objects —» Enter —» the Block Definition window will reappear and the selected object will be displayed in the preview icon area —» Description (fill in the Block description) —» OK to create.
To verify type B to create Block —» Enter —» Name —» select the downward arrow and a list of all the blocks, in this drawing will appear.
Retain: The original objects will stay visible on the screen after the block has been created.
Convert to block: The original objects will disappear aftertthe block has been created, but will reappear as a block.
Delete: The original objects will disappear from the screen after the block has been created.
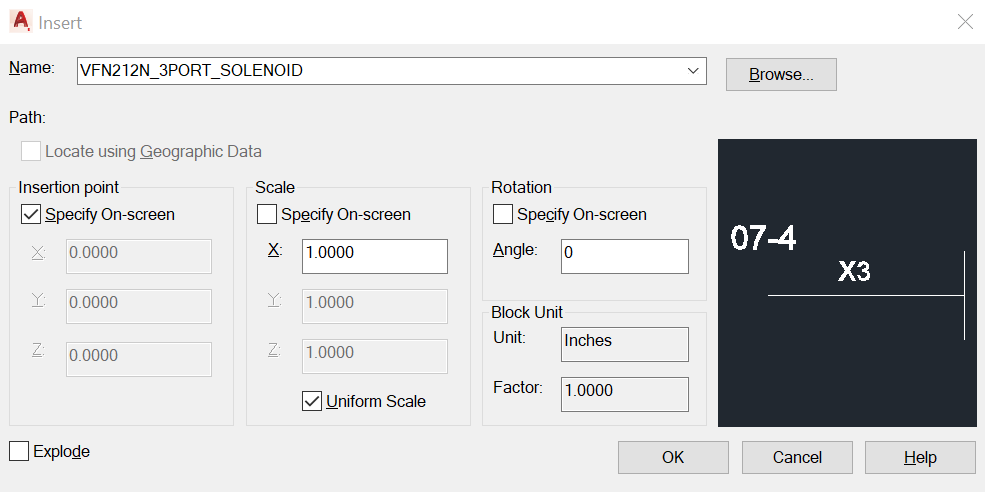
Inserting A Block: A Block can be inserted at any location within the drawing.  Inserting Block can be SCALE or ROTATE. Type INS + ENTER to insert —» select BLOCK Name, if the block is already open select the block from drop down arrow —» OK —» select the insertion location or type in X/Y/Z/Rotate —» check the Explode square box if explode —» click to place.
Annotative Block: Annotative blocks enable you to insert block references that are consistently sized, regardless of the viewport scale. Make the block such as example above —» insert the block into the drawing in modelspace —» Add an annotative object scale (ex: 1:2, 1:4 to the block)
Attribute: Ad text data to a block. Define an atttribute and attach it to a block. Adtribute can be name, size, cost, etc. When the block is inserted AutoCAD will prompt for those information that required user respond.
Block Editor Background Color:  To change the background color —» OP (options) —» Drafting —» Colors button —» Context: Block editor —» Interface element, select Uniform background —» Color, expand the arrow and select color —» Apply & Close —» Apply —» OK.
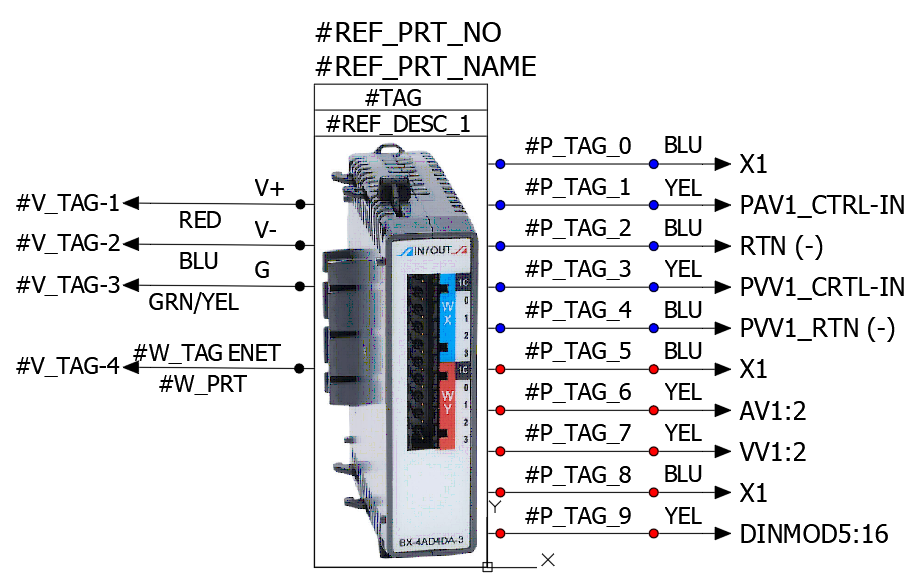
Creating Block Attributes: Create a block or open a block —» select the block —» and RMC —» select Block Editor —» type ATTDEF (Attribute Definition) —» Tag, type #TAG (will be replace with user respond), no spacing allowed —» Prompt, type #TAG (the functionality of the Tag) —» Default, leave it blank or select Insert Field button —» Field category, select an option —» Name object type, select an option —» Name Format, select your preference —» Justification, select —» Text style, select —» enter Text Height —» enter Rotation angle —» uncheck Insertion point if X/Y/Z is enter —»
Save Block As New Block: Create a a new block from an existing block —» Insert —» Create Block —» Name (enter a name) —» Description (enter desc.) —» Specify On-screen is checked —» select OK —» select objects (the block) —» RMC to Enter —» Open in block editor is checked —» OK —» click to place the new block —» edit the block and attributes —» Close Block Editor —»
Your Support Can Help Us Grow. Thank you for visiting ViBa Direct. As part of our commitment to continually improving the visitor experience, we’re doing our best to add the latest information with ready access to commonly needed resources, engineering, formulas, reference materials, photography, and travel. Unfortunately, we don't have enough manpower to meet everyone's needs. But if you are interested in helping us with the site maintenance cost. Please mail your donation to ViBa Direct., P.O. Box 1801., Pflugerville, TX 78691. Thank you for taking the time to read this. Feel free to Customer Service with any additional feedback you would like to share about your experience visiting ViBaDirect.com


